
Start a webserver
One of the most visible uses for your server is acting as a webserver, ie. "serving" up pages for a website so that people who visit the website can view the content and media there.
Our server is configured to allow us to ssh in to it and perform sysadmin duties. If we want the server to act as a host for a website, that's a relatively easy proposition.
Let's get started!
1. The LAMP Stack
Websites require software to help them run. The class suite of software packages that websites use has the acronym LAMP: Linux, Apache, MySQL, PHP.
- Linux - the operating system that the website (and our server!) runs on
- Apache - the software that is responsible for delivering the website's pages to the Internet
- MySQL - database software that is used to manage more dynamic websites. (Although we'll have MySQL installed on our machine, learning to use it will not be covered here.)
- PHP - a programming language that is usually used in conjunction with MySQL to create dynamic websites
There are alternatives to each of these packages. One can run a Windows server instead of a Linux server; NGINX might be used for the website instead of Apache; PostgreSQL is an open-source replacement for MySQL, and Perl, Python, or any of a dozen other languages might be used instead of PHP. But these four are classic, popular, and well-documented. If you decide to go into web development at all, this is the best jumping off point for learning those skills.
For now, we just need to get the installed on our server so that we can create a simple webpage or website.
2. Installing and Configuring LAMP
We're actually not going to install the full LAMP stack because we don't need MySQL and PHP right now. We're just going to install the Apache webserver and PHP.
$ sudo apt install apache2
2.1. Opening up the firewall
We're actually very secure at this point, if you followed the steps for setting up a firewall here: we're only allowing traffic in on port 22, and website traffic occurs via port 80 and 443. Even if we had a website, the firewall won't let traffic into the server to see it!
Use the ip a command to identify your IP address on the server. Mine is 192.168.7.207. Then launch a web browser on your own computer and enter that address into the URL address bar for the browser. You won't be able to get through because of the firewall.
Let's open up the firewall to allow website traffic:
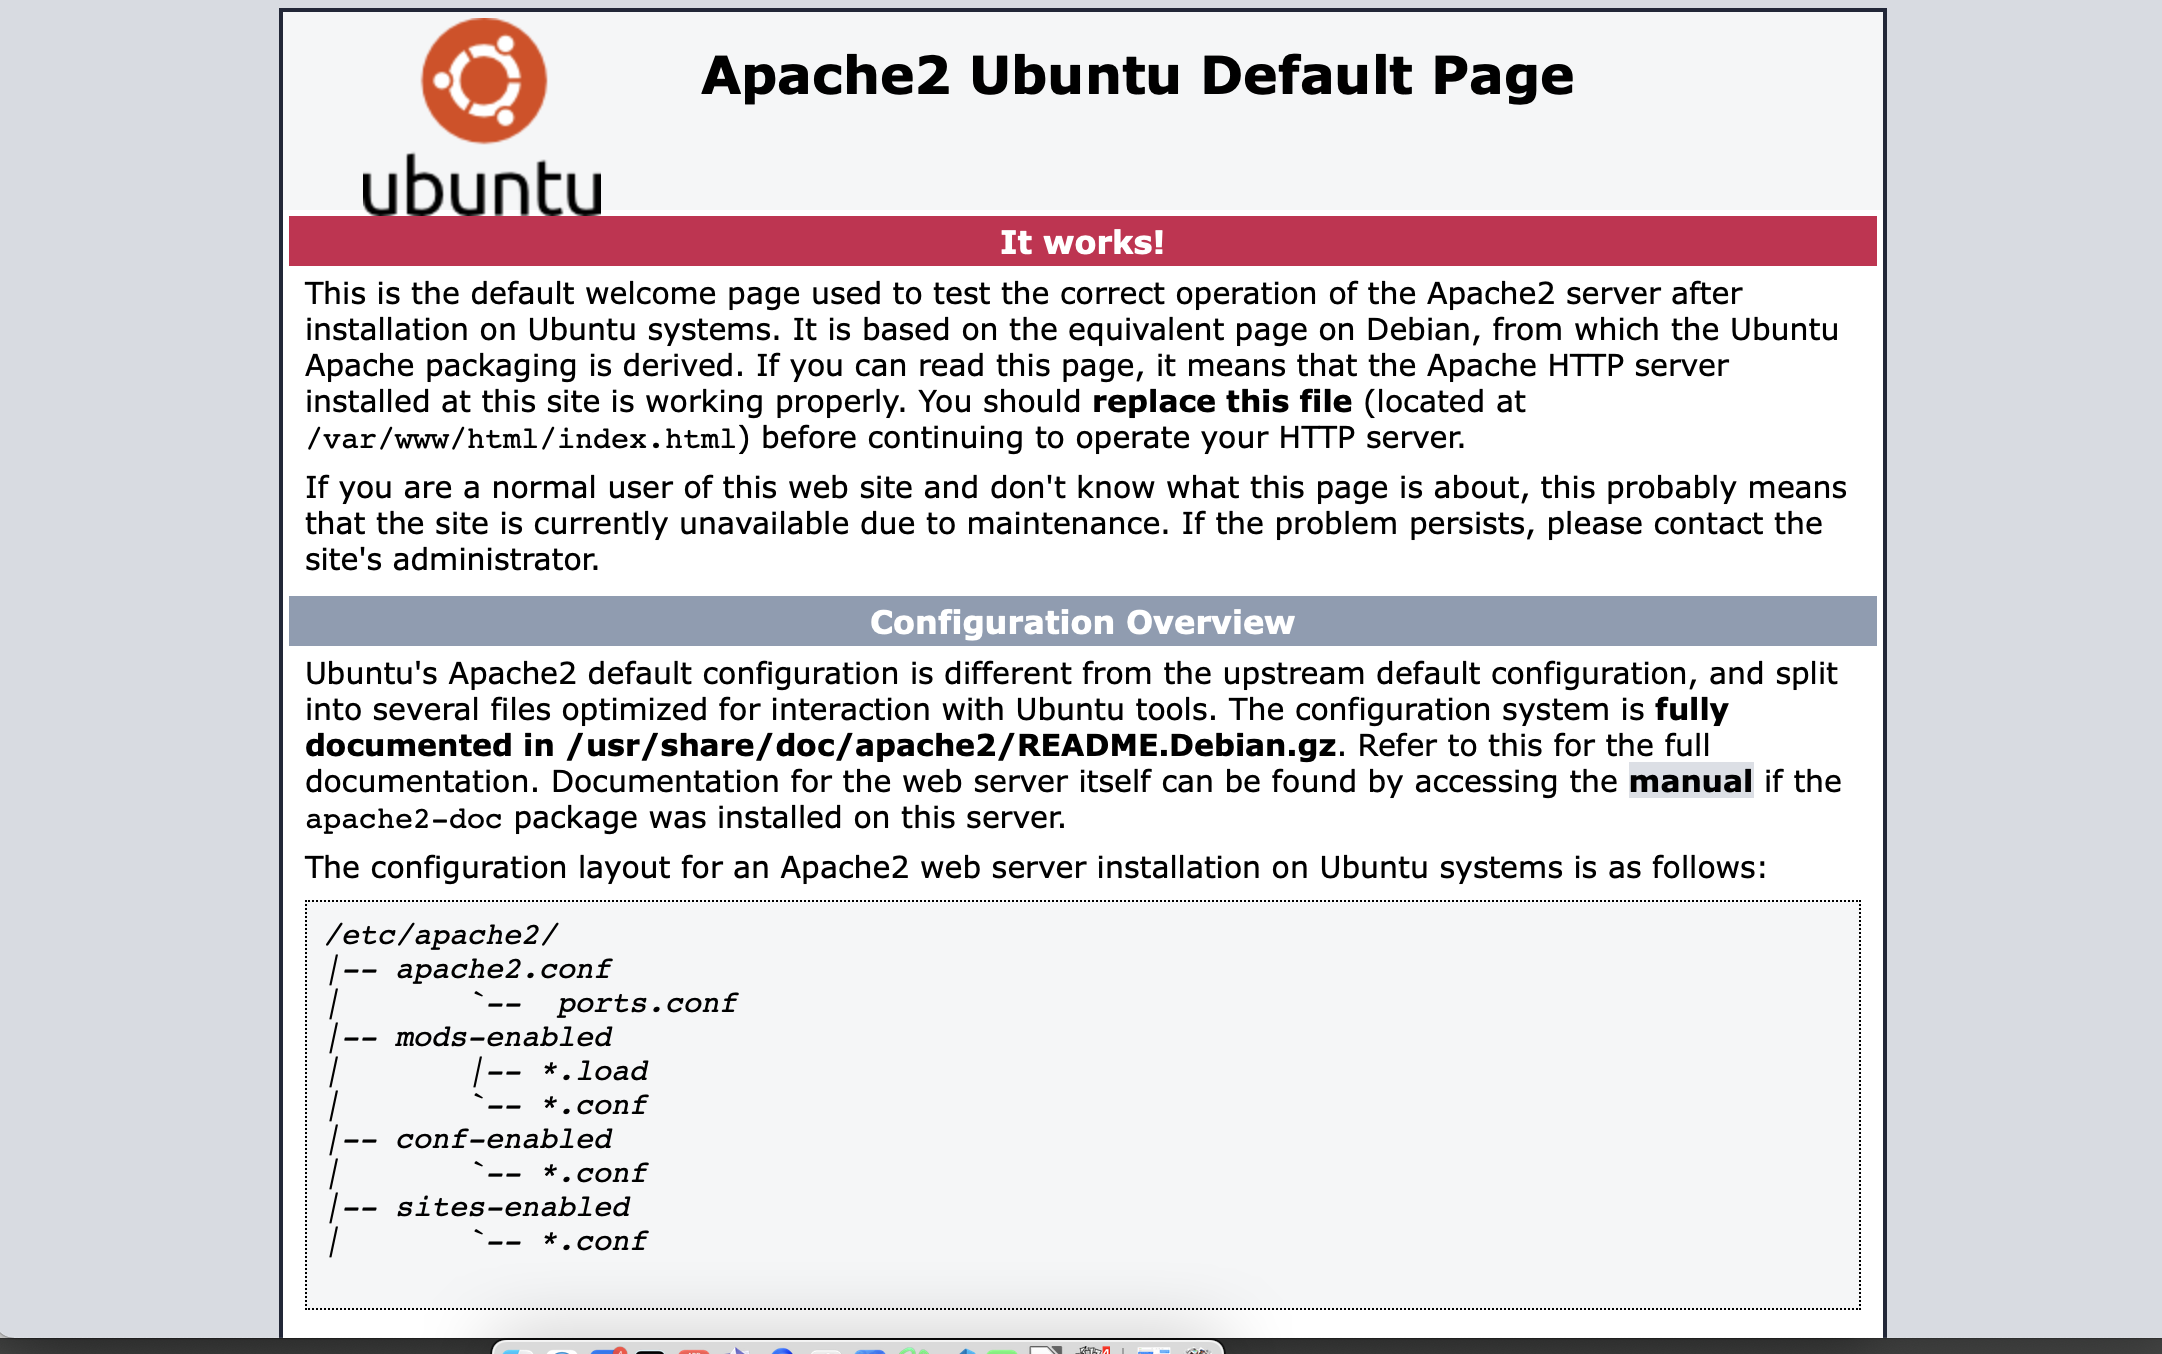
Try again to go to that IP address using your web browser. You should get a default page like this:
3. Setting up virtual hosting
The fact that you're able to view a webpage being served by your computer is a sign that the Apache server software is working.
Currently, the server is using webpages that are stored in /var/www/html/. One of the advantages of using a package like Apache2 is that it allows us to do name-based virtual hosting: we can have multiple websites—crashwhite.net, learnapphysics.com, hybridclassroom.com, for example—all hosted on the same physical server.
Let's set that up.