Project - Asteroids
Part 2 - The Floater superclass
Think of the different elements of this game: what is it that we're going to be needing to include on the screen?
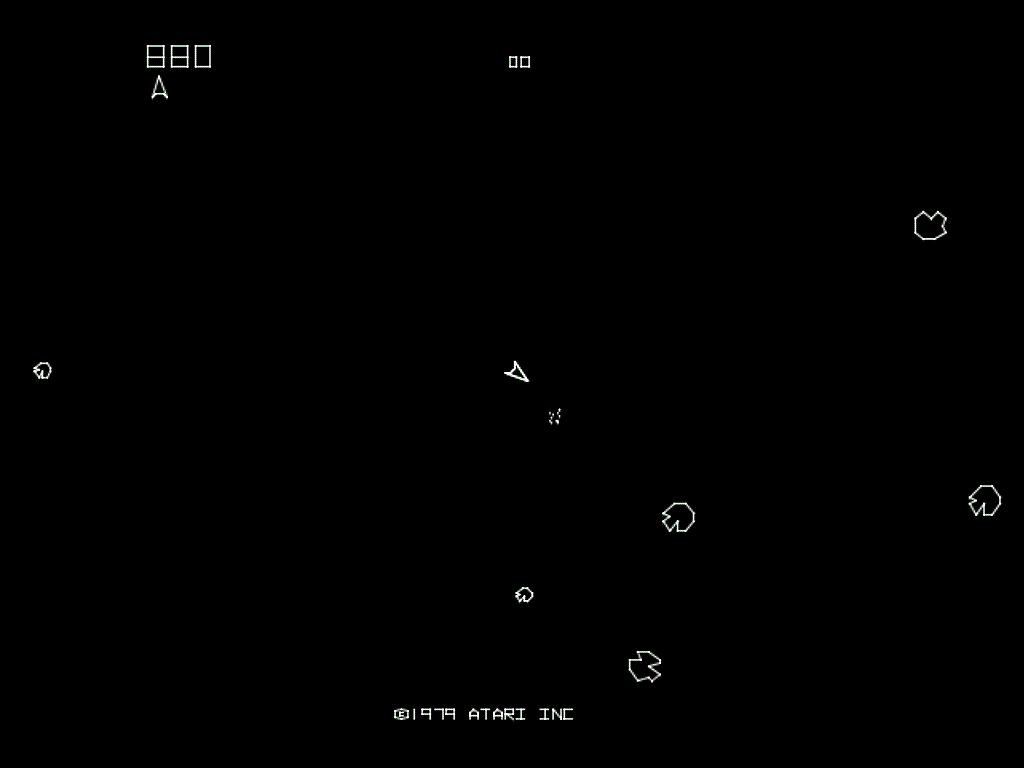
Some obvious elements include:
- our spaceship
- asteroids
- missiles
- UFOs
- score
- number of lives left
... and of the items on that list, how many of them move or float around in space?
Moving elements include:
- our spaceship
- bullets?
- asteroids
- UFOs
What do these moving objects do? What will be need to keep track of for these moving elements?
Show/hide actions and attributes
Moving elements all:
- move
- rotate (some of them)
- get shown, or not
Moving elements have:
- corners (that describe their shape)
- an x-y position in space
- a direction that they move
- a direction that they are pointed
Okay, now that we know what we're working with, let's do some initial set-up of our project.
Setting up the Processing project
We've already started our "AsteroidsGame" project, and that's the title of the first tab in the Processing window, the equivalent of a main method that will run our program.
To the right of that tab, click the down triangle to create New Tabs, one for each of our initial classes: Floater, Spaceship, Asteroid, and Star. We'll add additional classes/tabs later.
Let's head back over to the Floater class and take a look at how that's going to work.
2.1. The Floater class
We'll write a Floater superclass that can be extended (inherited from) by various subclasses, including the Spaceship and Asteroid classes.
There are some important details to note here. Make sure you understand each of these before moving on.
- The Floater class is abstract, which means that although it has "concrete" instance variables and "concrete" methods defined for it, and even has a constructor defined for it, we can't actually create a Floater object. Instead, when other classes inherit from ("extend") from Floater, they'll be able to use the methods we've defined for the class.
- The variables for this superclass are not public or private, they are protected. This is an access level that we haven't discussed before, a level that is somewhere between public (anybody has access) and private (nobody has direct access except for the class itself. A protected variable can be accessed directly by subclasses (which is how we'll use it here) and by other files in the same Java package.
- As the JavaDoc comments suggest, see the Processing documentation for further information on the "rotate" and "translate" commands and how they help to draw the Floater correctly on the screen.
2.2. The Spaceship subclass
- We're now in a position to be able to write the Spaceship class. In the Spaceship class (tab), write the Spaceship constructor, along with a header that indicates inheriting from the Floater. We'll create a constructor for this spaceship in a moment.
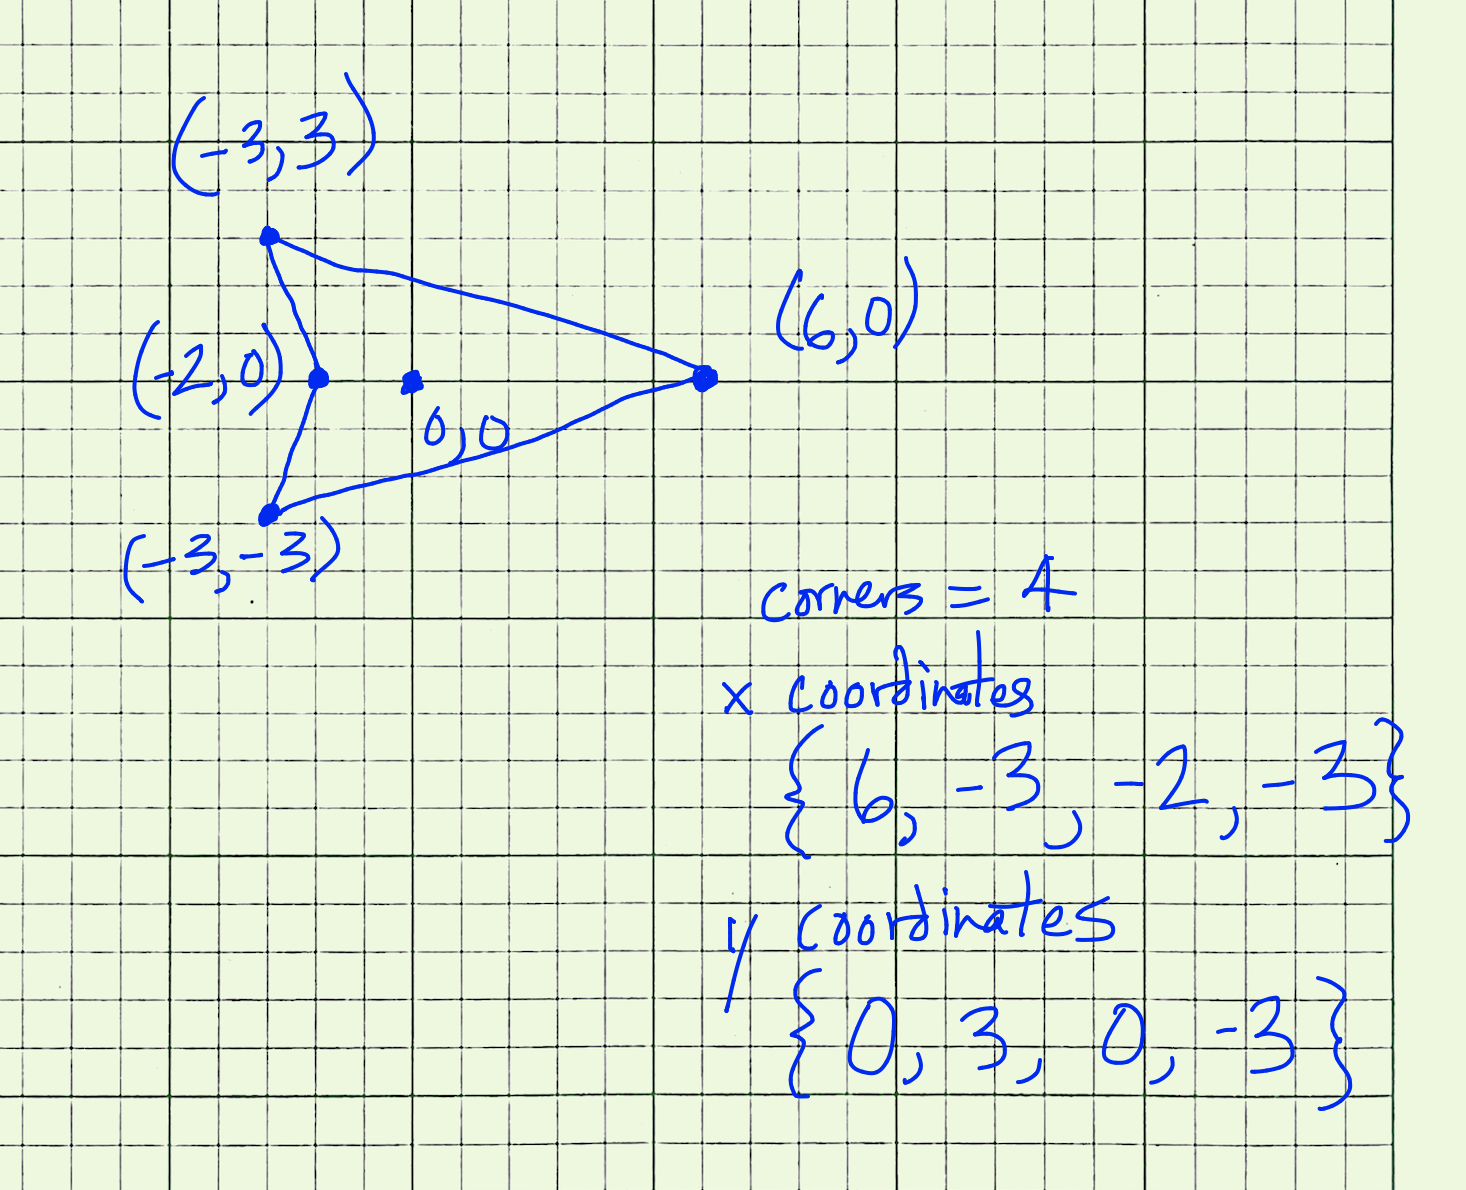
- Take a piece of graph paper to draw the corners of a simple spaceship shape that you can use to describe the spaceship.
- On the graph paper, identify the center of your spacecraft as 0, 0.
- Draw a polygonal spaceship shape around this center (pointing to the right) and identify the x-y points of your polygon. An example of one simple type of spaceship polygon is shown here.
- The values associated with your spaceship—the number of corners, the x-coordinates, and the y-coordinates—will be used in the AsteroidsGame.pde file to define your spaceship.
- Modify AsteroidsGame.pde and declare a variable of type Spaceship at the top of the file.
- In AsteroidsGame.pde, in the setup() method, initialize the spaceship variable by creating a new instance of a spaceship object. You don't need to supply any parameters because we'll specify them in the constructor using the protected variables of the Floater superclass.
- Back in the Spaceship class, let's finish off the constructor that initializes those values.
- Modify AsteroidsGame.pde so that the draw() method calls the Spaceship's show() function.
- Try to Run the game! If it works, you should see a small screen with your spacecraft in it, pointing to the right. There are no asteroids, and your spaceship can't even move, let alone shoot, but it's a spacecraft.
After I saw the spaceship on the screen it seemed a little too small, so I changed the pixels to make it a larger ship, but still centered on the 0,0 point.
If you don't see your spacecraft on the screen, something didn't work, and you'll have to go back and do some debugging.
Here is what you do.
Next...
Part 3 - The Spaceship moves